
WINTER MANTEL
THE MAKING - BEHIND THE SCENES
introduction
I LOVE when a design gives so much pleasure and it inspires people to be creative. I created this mantel design last winter and it has since inspired thousands of designs around the world. The image has been picked up and featured in interior and design publications, and has been shared again and again by so many.
It’s actually a very simple design to create. I share all the mechanics and each of the steps below, and a video of the finished design, to help get you started. I would love to hear if this design has inspired you to create something similar - let me know via Instagram, either by sending me a DM or tagging me in the image of your work.
Much love,
Philippa x
the space
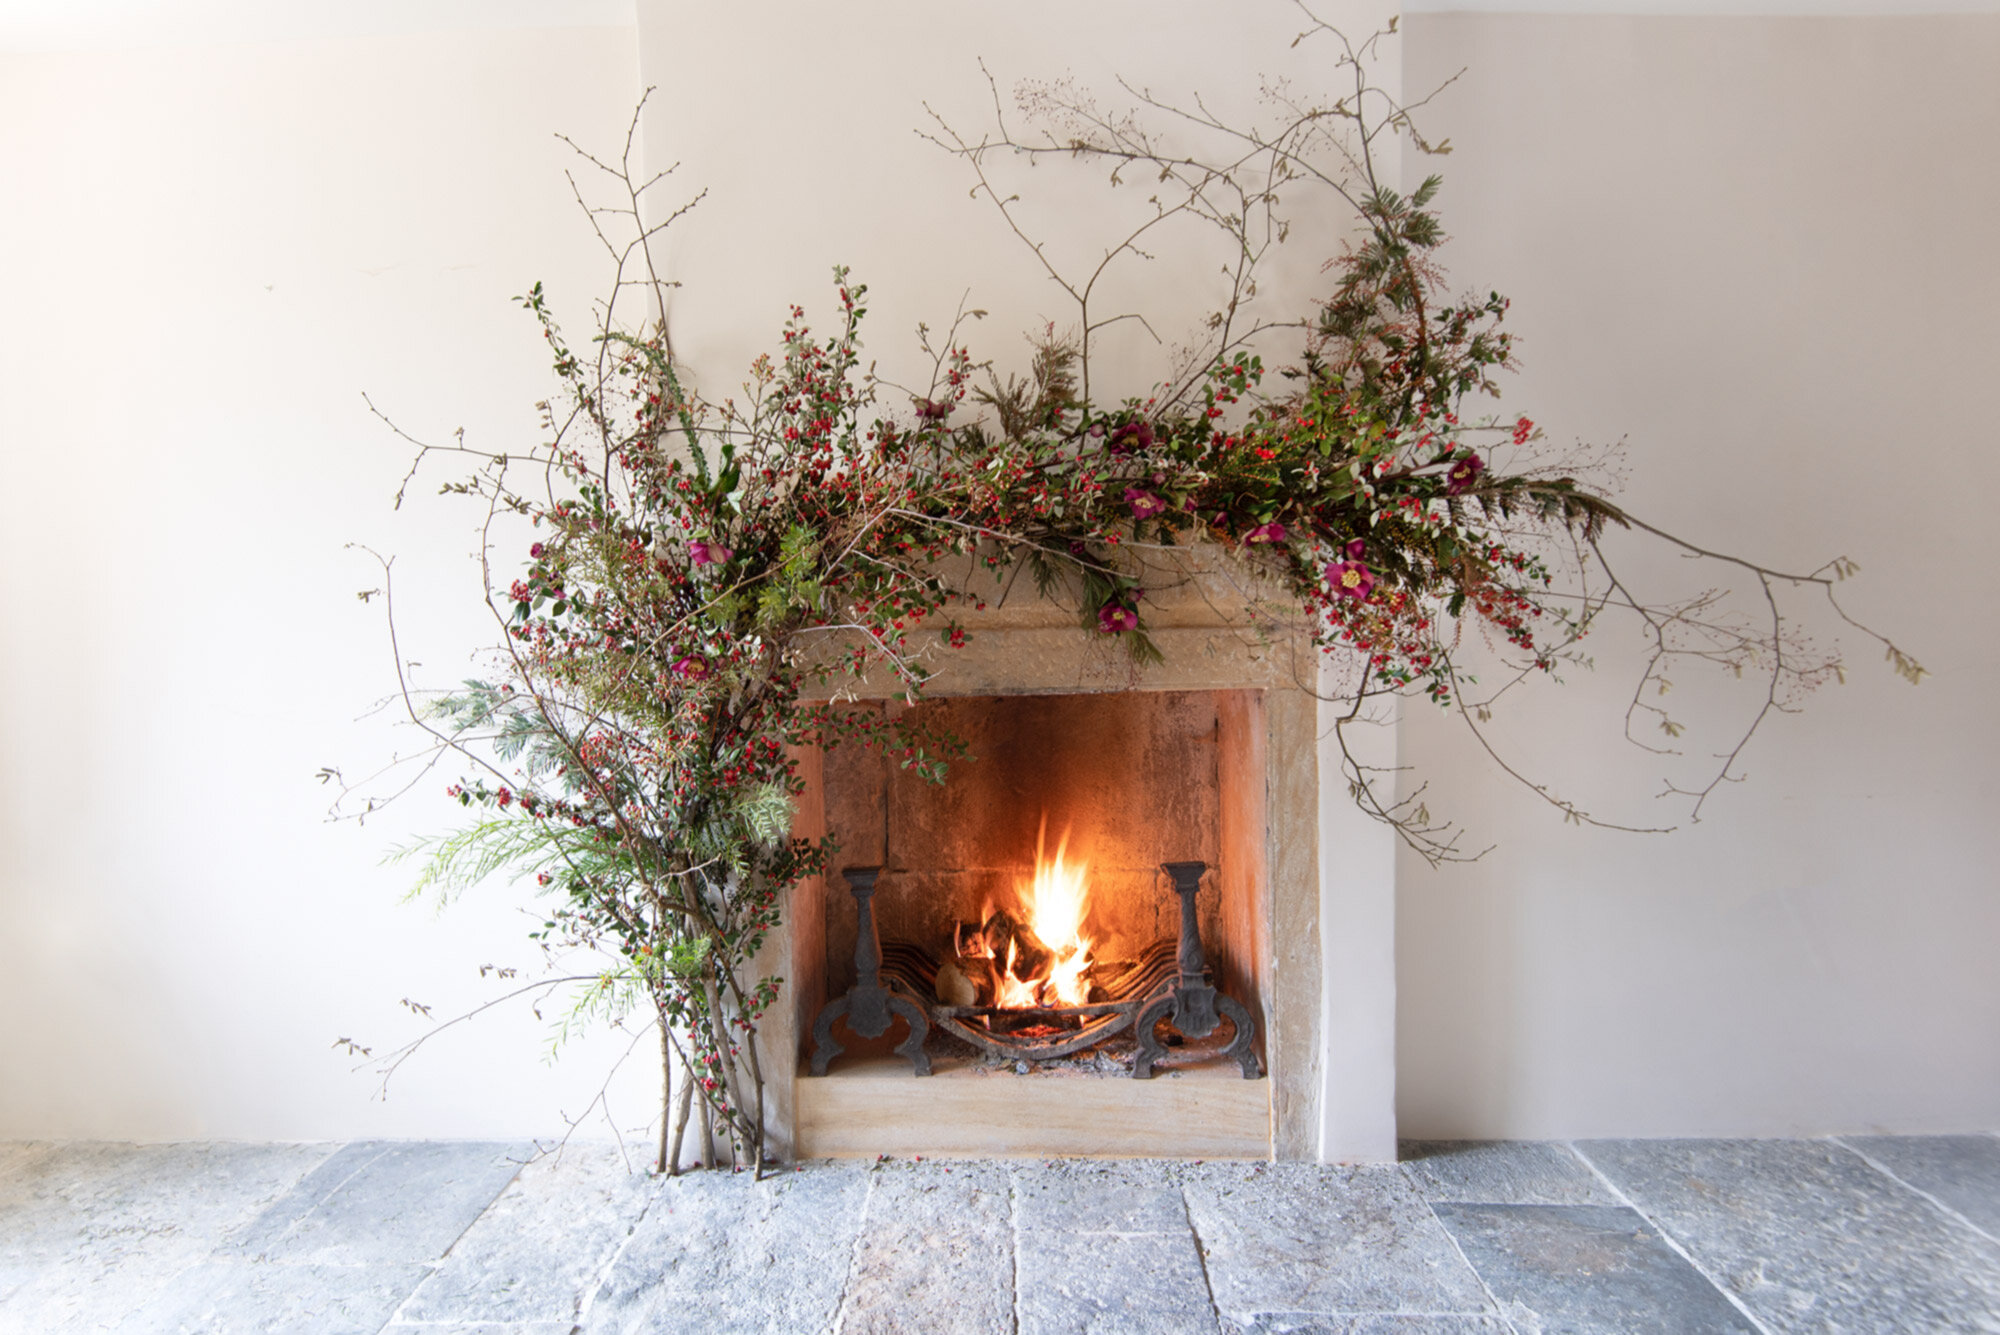
The mantel design was created at home in our library/my home work space. The room faces south so is flooded with beautiful day light through the original crittall windows. The floor with its flagstones and the pared back fireplace makes for a perfectly calm, minimalist space.
We usually have one long wooden table, with chairs and benches at either side, placed in the centre of the room, from where I work, looking out over the distant Dorset/Somerset hills. For the photo, we moved the table out of the way.
Because of the simplicity of the room, it can easily take quite a detailed design, one with plenty of textures and depth, and a sense of movement, to work in contrast with the relatively straight lines, softening the rigidity of the stonework. And the browns and reds of the design, worked beautifully with the neutral, warm tones of the walls and natural stone.
“A sublime festive mantel by Philippa Craddock. This organic, unstructured design features seasonal, sustainable stems, including hazel branches, cotoneaster, chamelaucium, acacia, pernettya mucronate, talcum long john and hellebores. To see more, visit @philippacraddock.”


TOOLS & MECHANICS
CLEAN BUCKETS - to hold water for conditioning
FLORISTRY SCISSORS & SECATEURS - I tend to use the Japanese brand Sakagen
EYE HOOKS or SCREWS - if fixing onto a wall or wood, to hold the branches
REEL WIRE - to secure branches to the eye hooks/screws
REUSABLE TEST TUBES - water source for the more delicate stems
INGREDIENTS
Try to source the below from local growers. If you are in the UK, you can find a good list of growers on our website and also via the collective, Flowers from the Farm:
3 x long lengths of large HAZEL BRANCHES ideally with Catkins
5 x smaller HAZEL BRANCHES ideally with Catkins
5 x generous handfuls COTONEASTER
5 x generous handfuls mixed ACACIA/MIMOSA
25 x stems CHAMELAUCIUM ADO (KNOP)/WAXFLOWER
10 x stems HELLEBORES (AARENDELLE MARA RED)
10 x stems PERNETTYA MUCRONATA
20 x stems TALINUM LONG JOHN


30 SECONDS VIDEO
A quick video (filmed on my phone) to show you more detail of the design.
STEP-BY-STEP

ONE
CONDITIONING - Before creating the design, I conditioned every stem, giving each a clean cut on an angle (this increases the surface area and helps with greater water absorption) and plunged into deep clean buckets and vases of water.
I left them to drink for 48 hours, 12 hours is fine, you just make sure each stem has a really good drink.
I didn't condition the large base branches, just those with leaves and flowers.

TWO
BASE OF DESIGN - I selected branches with natural bends and splayed ends, which extended up and to the right. This gave a natural, tree-like shape and a sense of movement within the design.

THREE
MECHANICS - The branches stood on the ground. I placed two screws (you can also use eye hooks), into natural holes within the stonework.
I secured the branches to the screws using reel wire, this firmly held the base structure (and the whole design) in place.
Mechanics and base structures always work best when they are kept simple.

CATKINS
KEY DETAIL - The catkins are important in the design, they stop the branches from appearing too sterile and bare, and add a beautiful, finished detail.

FOUR
FIRST STEMS, HARDY STEMS - The Cotoneaster are relatively hardy stems, so I simply wired these onto the branches, positioned evenly through the design, without access to water.

FIVE
PLACEMENT - As I added each stem, I was careful to follow the movement of the base branches, with each stem flowing in the same direction, to maintain the initial organic shape.

SIX
SECONDARY STEMS - Next up were the mixed Acacia stems, some are a little hardier, similar to the Cotoneaster, and for the more delicate ones, I placed these stems into small test tubes filled with water, wiring amongst the branches, hiding the tubes.

SEVEN
HELLEBORES - The hellebores really make this design. Their beautiful petals add a perfect elegance, without which the design seems just a little too woody in appearance. And their colour works beautifully against the browns, greens and reds - both contrasting and complementing.
I placed the Hellebores into test tubes of water and topped these up each day, as they like to drink! The stems were simply placed securely into the branches without wiring, to make daily access to the test tubes easy.

EIGHT
FINAL STEMS - I finished the design with the delicate stems of Talinum Long John, which added an incredible overall lightness and an additional texture.

NINE
KEY DESIGN POINTS - The branches played a key role in the overall design, they formed the sense of movement, with the additional stems adding depth and interest.
It's good practice to only add what's actually needed, without adding bulk and to maintain a sense of lightness.
I left the base branches clear, I loved the effect of the design seemingly growing out from the floor.
HEALTH & SAFETY NOTE
The fire was lit for the photo and was never left unattended. When creating a design in your own home, please use common sense and never dangle any stems close to naked flames.
LONGEVITY & HOW TO CARE FOR YOUR DESIGN
The branches alone form a beautiful, minimalist design and can be left in place for a long period. The rest of the design, with the test tubes topped up with water, will last you a few days.


